Download fewer apps, but the right ones
The first time I tried to “prep” for Europe, I nearly turned my phone into a junk drawer: city transit apps, half a dozen rail ticket apps, three map apps, and two different currency converters. The friction isn’t downloading—it’s arriving jet-lagged, on spotty Wi‑Fi, and realizing the one app you need wants a new account, a texted verification code, and a card re-entry.
For a 14-day, four-city trip, I’d keep it brutally minimal: one primary maps app with offline downloads (so you’re not burning data in train stations), one rail aggregator for planning (great for comparisons, but not always the cheapest place to buy), one airline/hotel app only if you’re actually managing reservations there, and one payments app you already trust at home. Everything else—museum apps, “best of” guides, local coupons—tends to cost more time than it saves unless you’re staying put for a week.
The fewer apps means you sometimes buy tickets on the web instead of in-app, but that’s usually faster than learning four different interfaces. Do your setup before you fly (logins, saved cards, offline maps), then treat every new download on the road as a red flag: will it work without roaming, and will it still be useful in the next city?
Move around cities like a local
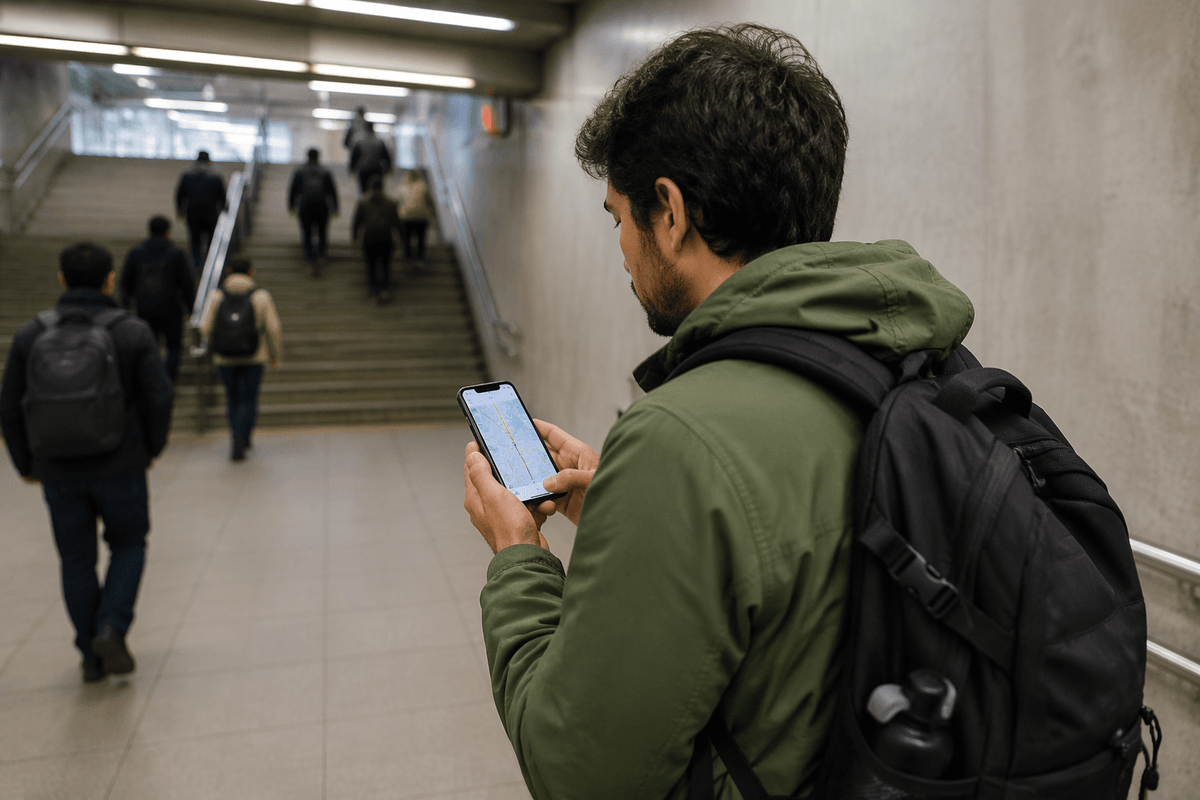
The first “local” mistake I see people make is trying to solve transportation with five different apps while standing in a stairwell with no signal. The better move is to decide, ahead of time, what you’re optimizing for in each city: fastest routing (even if it’s not pretty), or lowest hassle (even if you walk a bit more). In practice, that usually means one maps app you already know, with offline city areas downloaded, plus live transit layers turned on only when you’ve got decent data.
Where maps apps work well is the messy middle: finding the correct platform entrance, figuring out which side of the boulevard the stop is on, and rerouting when a line is closed. Where they stumble is fare logic. A route can look perfect on your screen and still require a ticket type you wouldn’t guess (zones, validation rules, airport surcharges). If you’re trying to avoid surprise fees, use your maps app to choose the route, then sanity-check the fare on the official transit website or the machine at the station—two extra minutes that can save you a citation or an “oops, wrong ticket” upcharge.
One practical trade-off: contactless tap-to-pay is brilliant when it’s supported, but it’s not universal and it doesn’t always cap fares the way you’d expect. I keep a small buffer of time on transfer-heavy routes and default to simpler trips (one line, longer walk) when I’m tired or cutting it close—because “local” isn’t knowing every shortcut, it’s arriving without drama.
Eat, book, and queue less
The moment I’m most likely to download a pointless app is when I’m hungry, standing in a line that isn’t moving, and the menu is only half-translated. This is where “less” actually pays off: instead of hunting for a different app in every city, I lean on two things that work nearly everywhere—web-based reservations and one map app’s “popular times”/reviews—then I only add a dedicated food or ticket app if it solves a specific choke point (like timed-entry slots that sell out).
What works well: booking ahead for anything with a fixed capacity (major museums, tower climbs, day trips) and doing it the night before on hotel Wi‑Fi. You’re not trying to be hyper-planned; you’re just buying yourself a calm morning. What doesn’t: third-party marketplaces that look convenient but stack service fees, force account creation, or leave you with a QR code that won’t load when your data is crawling. If the official site is annoying, I still prefer it—fewer middlemen when you need to change a time or get a refund.
For meals, the trade-off is spontaneity versus waiting. I’ll book one “anchor” dinner on a busy night (Friday/Saturday) and keep the rest flexible, using map pins to build a short list near where I’ll already be. Screenshots help more than apps here: screenshot the reservation confirmation, the venue address, and the QR code. When you’re tired, that tiny bit of redundancy is what turns a 45-minute queue into a five-minute detour.
Stay safe and organized
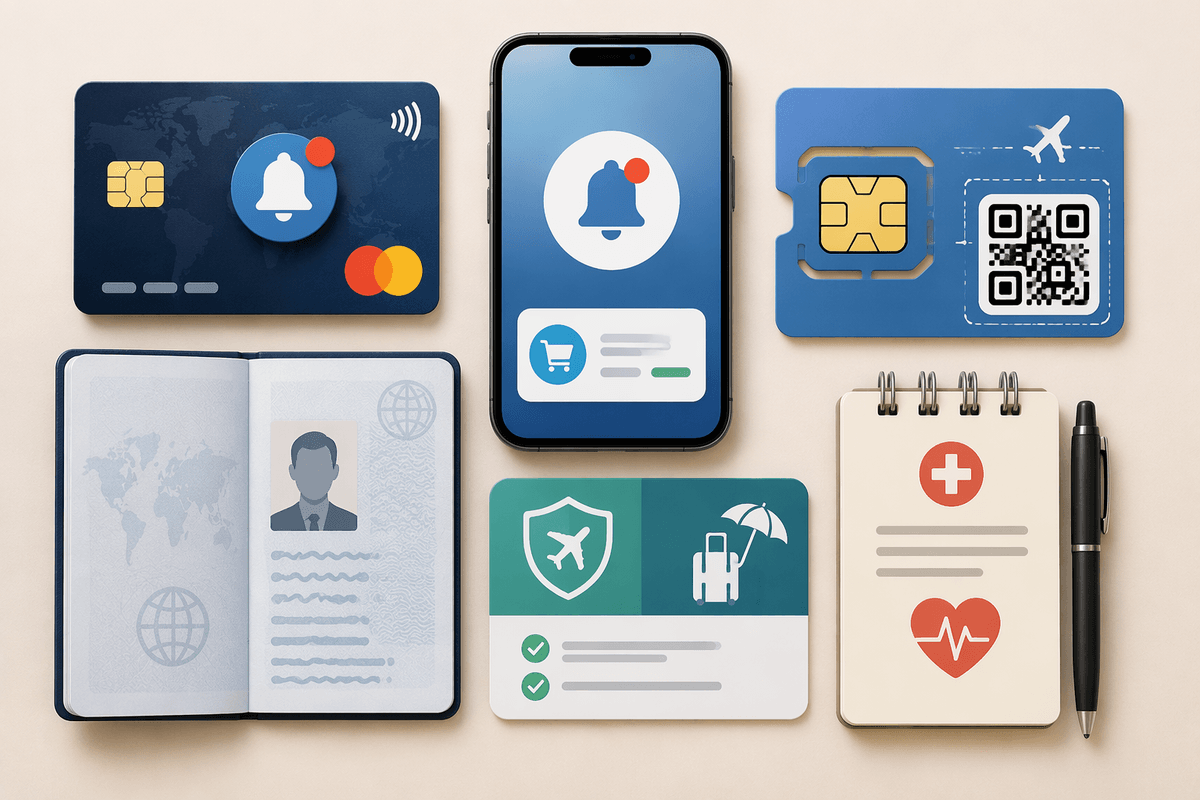
I usually notice my organization slipping at the exact wrong time: the first metro ride after landing, when my phone is at 18%, the station Wi‑Fi is captive-portal chaos, and I’m toggling between confirmations like I’m defusing something. This is where a “safety” stack isn’t a new set of apps—it’s a few habits that survive low signal. Before I leave each hotel, I screenshot (or save offline) three things: tonight’s address, tomorrow’s first booking, and my main rail/flight QR codes. Screenshots are boring, but they don’t fail because an app logged you out.
For money and identity, the friction is usually not theft—it’s a card freeze or a surprise hold. I keep my bank and card apps installed (and tested) purely so I can unfreeze a transaction and see what’s pending, then I turn on push alerts so I notice a weird charge before it snowballs. The trade-off is privacy and notifications, so I keep alerts to “transactions only” and skip optional “nearby deals.” If you’re using an eSIM, save your QR/install details somewhere accessible; swapping phones or resetting settings mid-trip is when data problems become expensive.
Finally, I treat documents like they’ll be needed offline and quickly: passport photo page, travel insurance details, and a short emergency note (allergies, meds) in your phone’s wallet/notes, available without unlocking if you’re comfortable. It’s not paranoia—just reducing the number of times you have to solve a problem in public, in a hurry, on a dead battery.
My must-download shortlist by trip style
On my last multi-city run, I hit that familiar moment: I’m on train-station Wi‑Fi that keeps dropping, my storage is flashing red, and I’m one “must-have” download away from wasting the only calm 10 minutes I’ve got. So here’s the shortlist I actually stick to—built around trip style, not hype.
If you’re doing the classic 4-city first-timer loop: one offline-capable maps app (plus downloaded areas), one rail planner/aggregator for comparisons, and your primary airline/hotel apps only if they hold your bookings. Add your bank/card app for freezes and alerts. Skip city-specific transit apps unless the city has a tap-in system or ticketing that’s genuinely easier in-app; otherwise, the machine + a screenshot of fare rules usually wins on speed.
If you’re transit-heavy (day trips, early trains, tight connections): keep the same core, but add one “tickets live here” rail operator app only when you’ve confirmed you’ll buy multiple legs from that operator. The trade-off is setup time, so I do it on hotel Wi‑Fi and immediately save PDFs/QR codes offline—because the app will pick the worst moment to log you out.
If you’re low-data / eSIM-anxious: prioritize offline maps, screenshots, and web bookings over new installs. The practical rule: if it can’t work on weak signal, it’s optional.